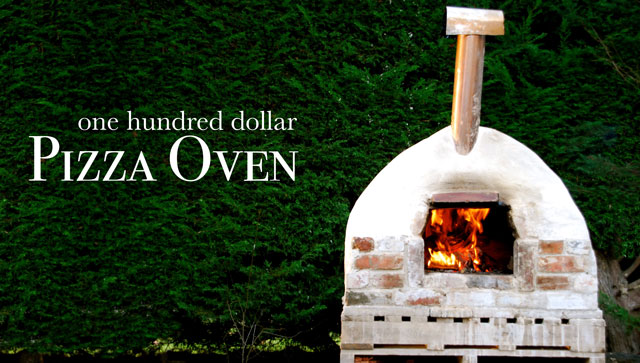
I was hungry for pizza so I built a pizza oven, that makes sense right? As most of you might of gathered by now we like food an awful lot, especially baking and our, lets call it a “healthy” obsession takes up a good portion of our time. So when we heard the Melbourne Pizza Festival was coming to town we were sold on the idea. Mouth watering succulent pizza would be on offer and who are we to refuse, but sadly we only managed to get our mouths around just two slices and that just wasn’t quite enough to tame our wild stomachs. I’m not saying the festival or pizza wasn’t good, far from it, but unfortunetly for us they had failed to allow room for half of Melbourne to fit and so resulted in a very crowded venue, and a very hungry us. It was decided: we need a wood fired oven, but one that could be abandoned should the need arise due to our renting status, and it must be completed on a budget. Challenge accepted.
 Think of this as a first try; the pizza oven you build to hone your pizza oven building skills. If everything goes to plan over the next twelve months we will be moving on and buying our first home and a whole new oven will need to be built.
The basics of an oven are somewhat simple, heat – in this instance from a fire and thermal mass – bricks and render (clay would have been a better for thermal mass but I’m lazy so render will do). The fire heats the oven and the bricks store the energy to be released and used to cook your pizza, bread, roast, whatever your appetite calls for. This oven was built with this in mind but on a budget, here we go…
Materials and Cost breakdown
5 Pallets – Donated
18 Cement paving stones – Had
180’ish Bricks (old clinkers) – Had
Chicken wire (about 2sqm) – Had
Chimney if required – Had
Sand – $60 for 2/3 meter
Lime – $10
Cement -$15
Total $85
With the fifteen dollars we had spare I’m going to buy a bottle of wine and christen her this weekend, results to come!
Instructions – The boring bit
The pictures are pretty self explanatory, I started with a base (pallets donated by a local builder) and then built up. I wanted to use some cement sheeting for insulation over the pallets but with the budget in mind I laid some old cement paving stones insteed, tightly layering them on the pallets. Then I mortared (MIX 4-1-1) in a line of bricks around the edge of the base and filled the centre with tightly packed sand. The sand was then covered with bricks that were persuaded into place with a mallet, the base is tightly packed but not set with mortar as it’s the baking surface.
Then I started laying my bricks, around and around leaving some room for an entry at the front. Using an old length of steel from our garden, I formed a lintel and set a terracotta arch on the lintel and continued to taper the brick dome inwards. From here I created a platform inside the dome and covered it with sand shaping the inside of the dome and giving the bricks something to rest on while being laid and then setting in place.
I added a length of chimney from the front of the dome, held in place with chicken wire which also helps to strengthen the structure. After a day I carefully removed the platform and shaping sand and then set to work rendering the facade, this not only looks nice but increases the thermal mass. The render is about the same mix as the mortar but with a little more lime for flexibility. Over the bricks I have a render layer then a sheet of chicken wire to aid with strength and topped with a smooth render layer. At its thickest point the oven would be almost twenty centimetres.
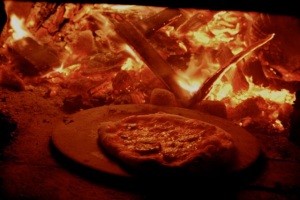
What could I have done different?
Well if money wasn’t an object, almost everything, but this amaizingly cheap project took me about six hours in total and came in under budget. I call success, now who’s for a slice of pizza?
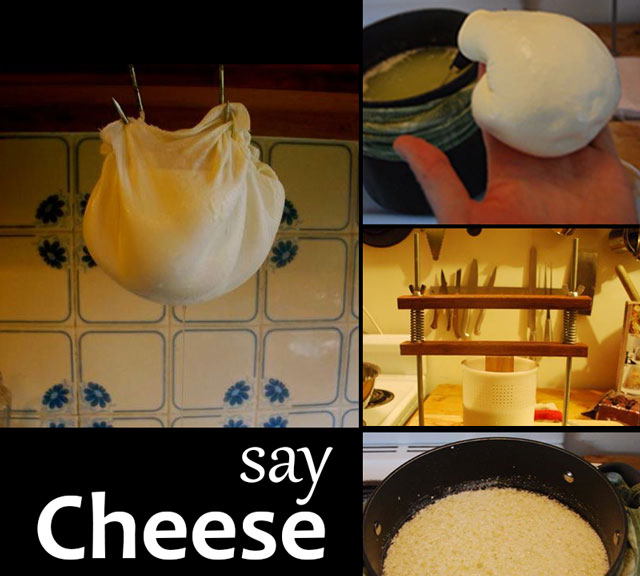 Welcome to the first post in a series on cheese making, a topic much simpler than you might think. It’s the process of heating milk to the point that curds (the delicious fat solids) separate from the whey (the watery by-product). And I’m not talking about the curds couch-surfing at a mate’s place while the whey rips up all their old photos and changes the locks, I’m talking about bacteria, enzymes and acids. Using this process you can essentially make most other forms of cheese and I’ll cover this soon.
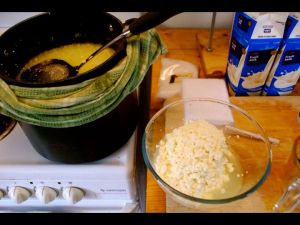
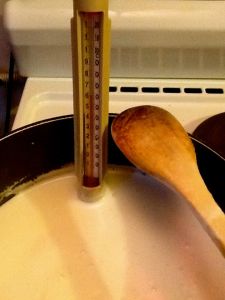 Add 3 1/2 litres milk to a large pot on a medium heat.